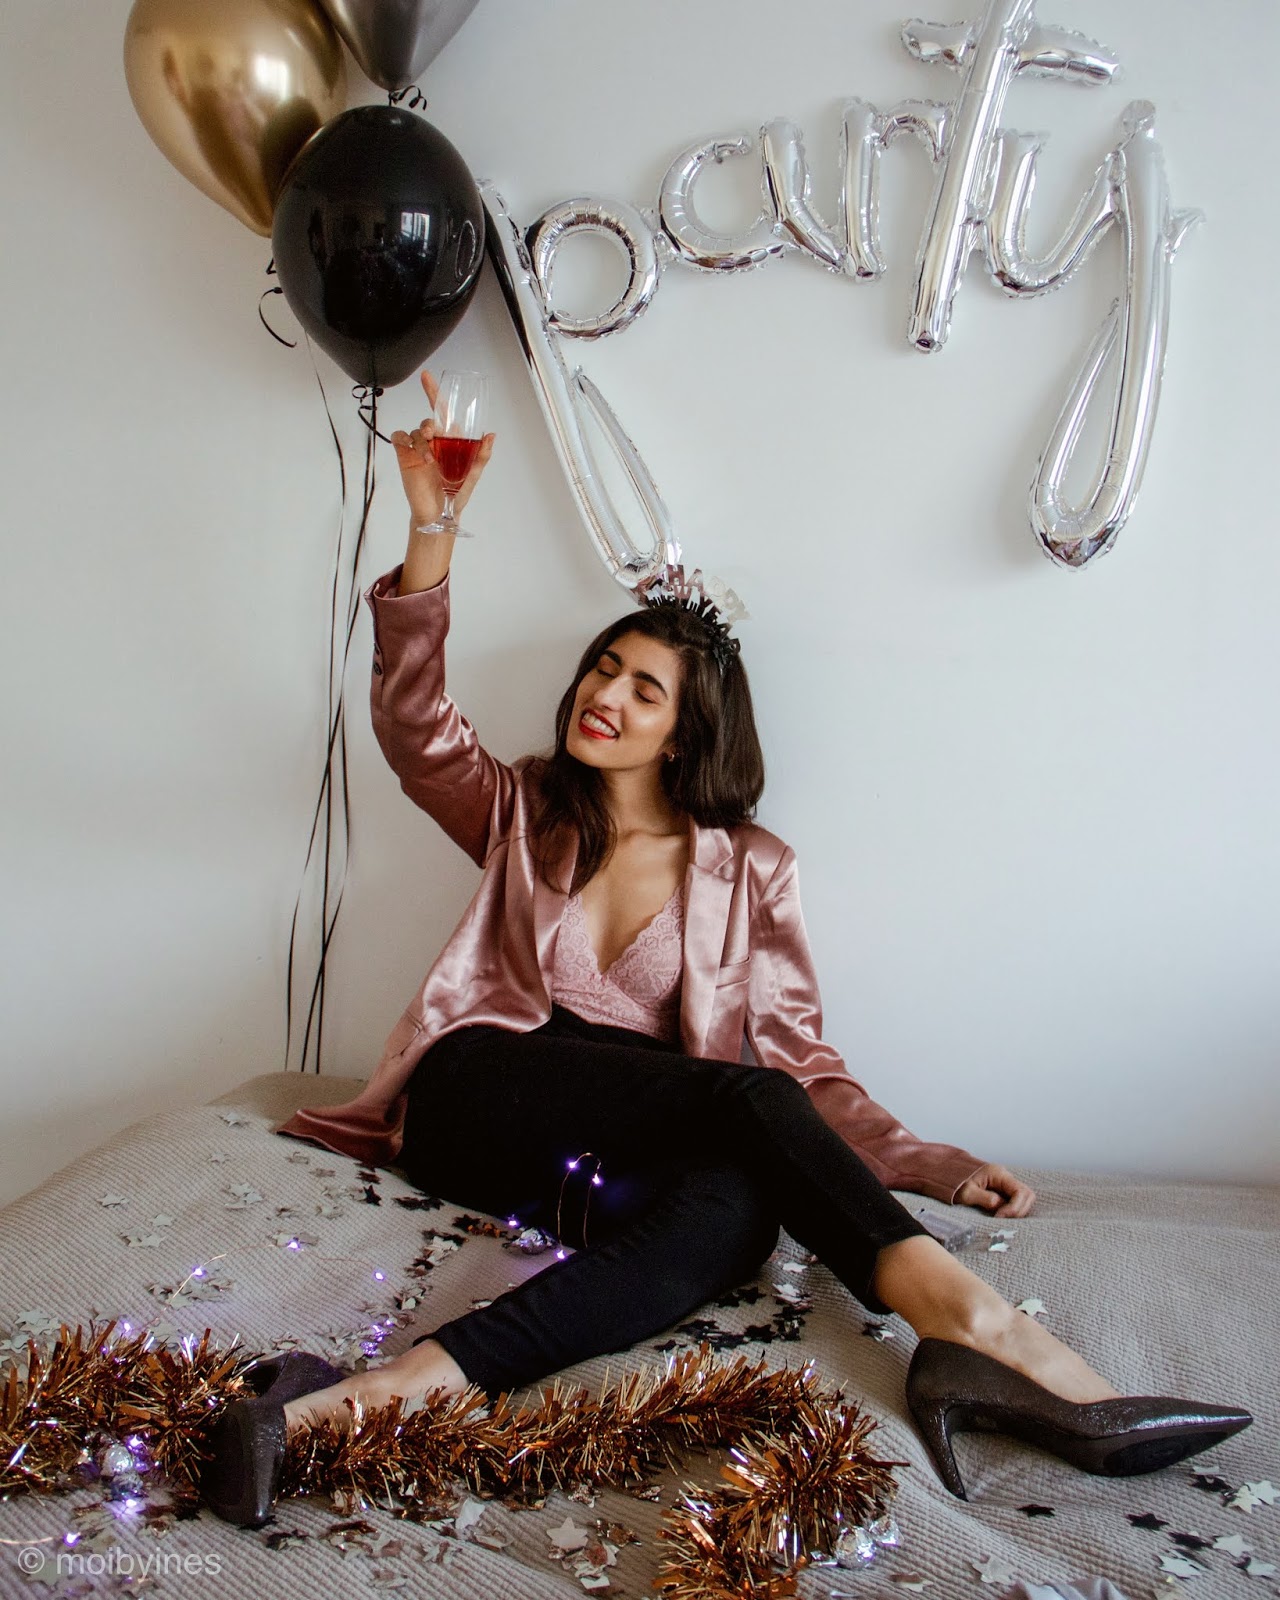
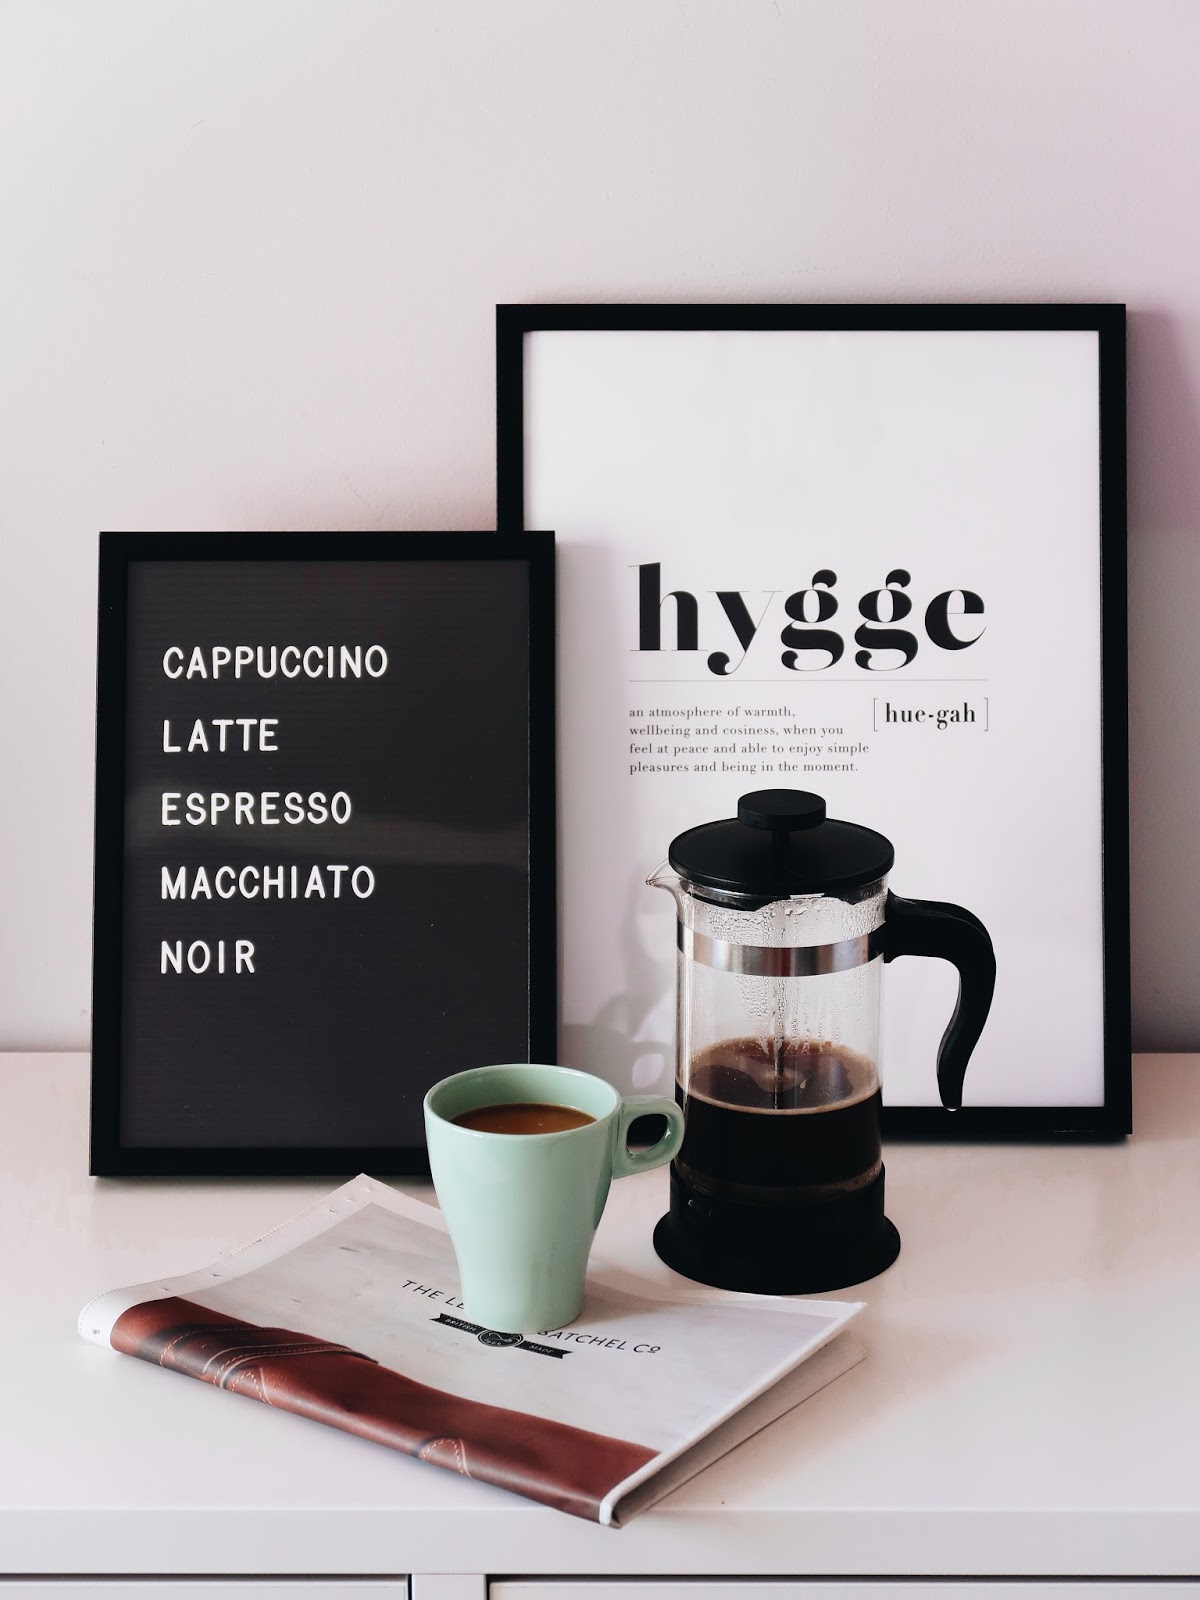
Recentemente no Instagram, tenho tido vários pedidos para que eu explicasse como edito as minhas fotografias. E apesar da minha edição não ser nada de especial para mim, achei que podia ser interessante para vocês verem o meu método e podermos trocar dicas.
Para os me seguem no insta (se não és um deles, o que estás à espera? A minha conta é @inesserodio95), podem ter notado que eu gosto de evidenciar cores vivas, elementos distintos e uma boa composição no geral. Apesar de não ter nenhum tema e as minhas imagens serem à volta de vários tópicos (estilo, comida e paisagens urbanas), eu tento alterná-las e brincar com as suas tonalidades (por exemplo, fazer um trio só de imagens vermelhas, outra de azuis, etc).
Antes de passarmos para os meus truques e apps de edição, gostava de vos deixar 3 dicas:
DICA #1
Tira o máximo de fotografias até sentires que aproveitaste todos os ângulos. E não estou a dizer 3, estou a dizer 20 fotografias diferentes. Explora os ângulos (de cima, close up, de lado) e brinca com a luz, a sombra, objectos complementares como pessoas, árvores, céu, mãos, jóias, etc. Desta maneira, de certeza que terás uma perfeita.
DICA #2
Usa luz natural, ou uma lâmpada de luz branca por cima da mesa. Isto vai facilitar a edição em grande parte. Pois quando se aumenta a exposição de uma fotografia, alguns detalhes desaparecem, e mesmo que se aumente o contraste, não fica muito natural. Às vezes, para uma fotografia de um look, fica melhor na sombra do que directamente com a luz do sol.
DICA #3
Não exageres na claridade. É muito bonito ter um feed clean e claro, mas se tirares a cor todas da fotografia, os elementos perdem-se, não há linhas claras a separar o fundo do elemento principal e parece ser de uma dimensão só.
Agora, vamos editar!
[EN]: Lately on the 'gram people have been asking me how I edit my photos. And, though, for me it's a no-brainer editing them, I feel like it would be interesting to share my editing method and to exchange tips between us.
For the people following me on Instagram (if you are not already, what are you waiting for? My account is @inesserodio95), you might have noticed that I'm really into bright colors, distinct elements and a good composition overall. Although I have no theme and my pictures are all around various topics (style, food, cityscapes), I try to alternate them among each topic and play with the tones (for instances, do a blue trio, next do a red trio, and so on).
Before heading to the actual editing tools and tricks, I'd like to leave you with some tips.
TIP #1
Take as many pictures until you feel you have taken advantage of all different angles. And I mean like 20 different ones, not only three. Explore the angles, the light and shadow, play with complementing objects (for example, people, trees, hands, jewellery). This way you'll be sure to have the right one.
TIP #2
Use natural lighting when outside, or a really good white lamp right above the food. This will facilitate the editing. Otherwise, if you're improving the exposure, many details will disappear, and using the contrast to make them appear, doesn't often look that natural. Sometimes for outfits, it's better to take a photo in the shade.
TIP #3
Don't overuse the highlight feature – this will white out the picture, take the natural colors and shapes making it seem like a 1D photo with no clear lines. It's beautiful to have a clean and light feed, but know how to do it so the picture is not a big blur.
Now onto the editing!
Vamos começar com uma fácil.
1. A foto original foi tirada numa rua em Lisboa. Estava contra-luz e apareceu muito mais amarela do que era na realidade.
2. Levei-a para o VSCOcam – a minha app de edição de imagens de eleição – e apliquei o filtro HB1, um filtro claro. Depois ajustei a cor da imagem para focar mais no tom azul.
Let's start with an easy one.
1. The original photo was taken in Lisbon. It was against the light and it came up much more yellow than in reality.
2. I took it to VSCOcam – my trustee editing app – and applied the HB1 filter, a light one. Then adjusted the colors to enhance the blue tone.
Esta foi mais complicada.
1. A foto original foi tirada no Friendly Flamingo, um café em Lisboa. Aproveitei a incrível mesa de mármore e a luz natural que vinha do tecto de vidro para tirar a fotografia.
2. Depois, editei-a no VSCO com um filtro claro (HB1).
3. Usando outra app muito boa – a Snapseed – resolvi o problema do desenho no café desvanecido. Com o pincel, baixei a exposição apenas no café e ressuscitei o desenho.
This was a tricky one.
1. The original photo was taken at Friendly Flamingo, a coffee shop in Lisbon. I took advantage of their amazing marble top and their natural light coming from the glass ceiling to take the photo.
2. Then I edited it in VSCO with a light filter (HB1).
3. With another amazing app – Snapseed - I tackled the faded latte art. With the brush, I lowered the exposure only on the coffee and brought the design to life.
Da câmera para o Instagram.
1. A foto original foi tirada na Fundação Champalimaud, em Lisboa. Esta foi tirada com a câmera fotográfica, ao invés das anteriores que foram tiradas com o iPhone. Eram 5 da tarde e o sol estava alto e forte, fazendo com que eu ficasse contra-luz.
2. Com a versão grátis do Lightroom para o Mac, fiz um aprimoramento automático na imagem e melhorei a exposição, a claridade, a vibratibilidade e a saturação.
3. De seguida, fiz airdrop da imagem para o iPhone e editei-a no VSCOcam, desta vez com um filtro mais quente (E3).
4. E por fim, usando o Snapseed, melhorei a exposição na minha cara, outfit e na parede. E ainda aumentei a saturação na camisa para realçar a sua cor viva.
From the camera to Instagram.
1. The original photo was taken at Champalimaud Foundation, in Lisbon. This one was taken with my camera, and not with the iPhone like the previous ones. It was 5 pm so the sun was bright and high, making the photo look against the light.
2. With the online version of Lightroom for Mac, I auto-fixed it and enhanced the exposure, clarity, vibrancy and saturation.
3. Then, I airdropped it to my phone and edited it with VSCOcam, but using a warmer tone (E3).
4. Lastly, using Snapseed, I enhanced the exposure on my face, my body and on the wall. And saturated the shirt so the bright red would pop.
E aqui estão algumas das minhas edições. E tu como editas? Conheces os programas que eu uso?
And here they are: my editing tricks. What about how you edit your pics? Do you use any of these apps that I mentioned?


